
This article highlights a specific use case where one might need to run dbt on Databricks while utilizing tables in Snowflake. Typically, dbt runs on top of the database where it is instantiated. However, if a table needed to run dbt in Databricks does not exist in the hive-metastore and instead exists in an external database like Snowflake, then you would have to utilize the dbt_external_tables package to create a copy of the table in Databricks so dbt can run on top of that table in Databricks.
dbt setup
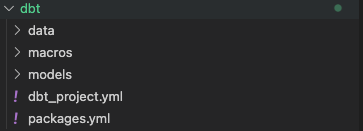
The dbt project directory should be set up like this:
Setup your dbt_project.yml file like so:
name: 'databricks_setup'
version: '1.0.0'
config-version: 2

profile: 'databricks_setup'

quoting:
  identifier: false
  schema: false


asset-paths: ["assets"]
model-paths: ["models"]
analysis-paths: ["analysis"]
test-paths: ["tests"]
seed-paths: ["data"]
docs-paths: ["models", "data"]
macro-paths: ["macros"]
packages-install-path: "dbt_modules"


models:
  bind: false
  databricks_setup:
    enabled: true
    model_1:
      schema: databricks_setup
      materialized: table
    model_2:
      schema: databricks_setup
      materialized: table

seeds:
  databricks_setup:
      load:
        +schema: databricks_setup

quoting:
  database: true
  schema: false
  identifier: true
Seeds are optional; however, if you have seed files that you’d like to create, then store them in the ‘data’ folder within the ‘dbt’ directory.
Set up your packages.yml file to install the dbt_external_tables package:
packages:
  - package: dbt-labs/dbt_external_tables
    version: 0.8.5
Next, navigate to the schema.yml file within the models/sources/ directory. This is where we will create the connection to the Snowflake tables. The schema.yml file should be organized like this:
version: 2

sources:

  - name: "sample_schema_name"
    tables:
      - name: table_name
        external:
          using: net.snowflake.spark.snowflake
          options:
            sfUrl: [unique_snowflake_url]
            sfUser: "{{ env_var('SPARK_SNOWFLAKE_USER_NAME') }}"
            sfPassword: "{{ env_var('SPARK_SNOWFLAKE_PASSWORD') }}"
            sfDatabase: "{{ env_var('DATABASE_NAME_1') }}"
            sfSchema: "schema_name"
            sfWarehouse: "{{ env_var('SPARK_SNOWFLAKE_WAREHOUSE') }}"
            sfRole: "{{ env_var('SPARK_SNOWFLAKE_ROLE') }}"
            dbtable: "{{ env_var('DATABASE_NAME_1') }}.schema_name.table_name"
Databricks Setup
Next, we will set up the necessary configuration in the Databricks console. Databricks integrates seamlessly with Github repos. To access your github repositories, it is best to create a Github service user and a Github service PAT (personal access token) that is scoped to only the repos that Databricks needs access to.
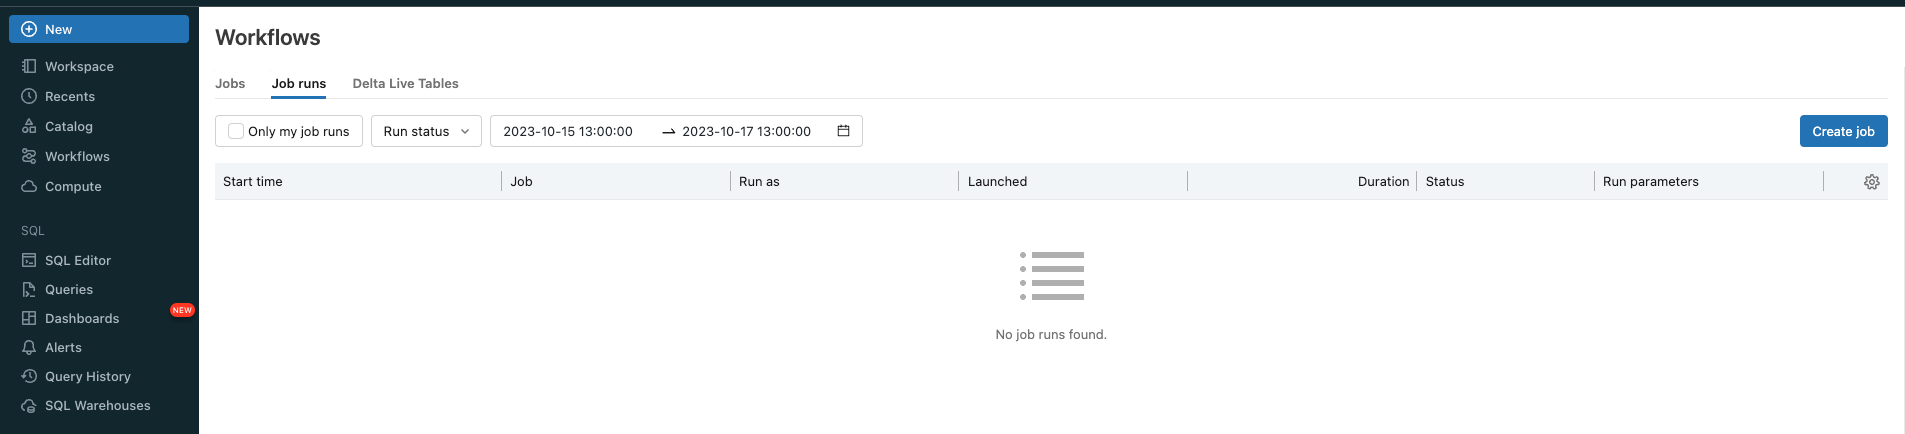
Navigate to the ‘Workflows’ tab and select ‘Create job’:
Give your task a name and choose ‘dbt’ as the type:
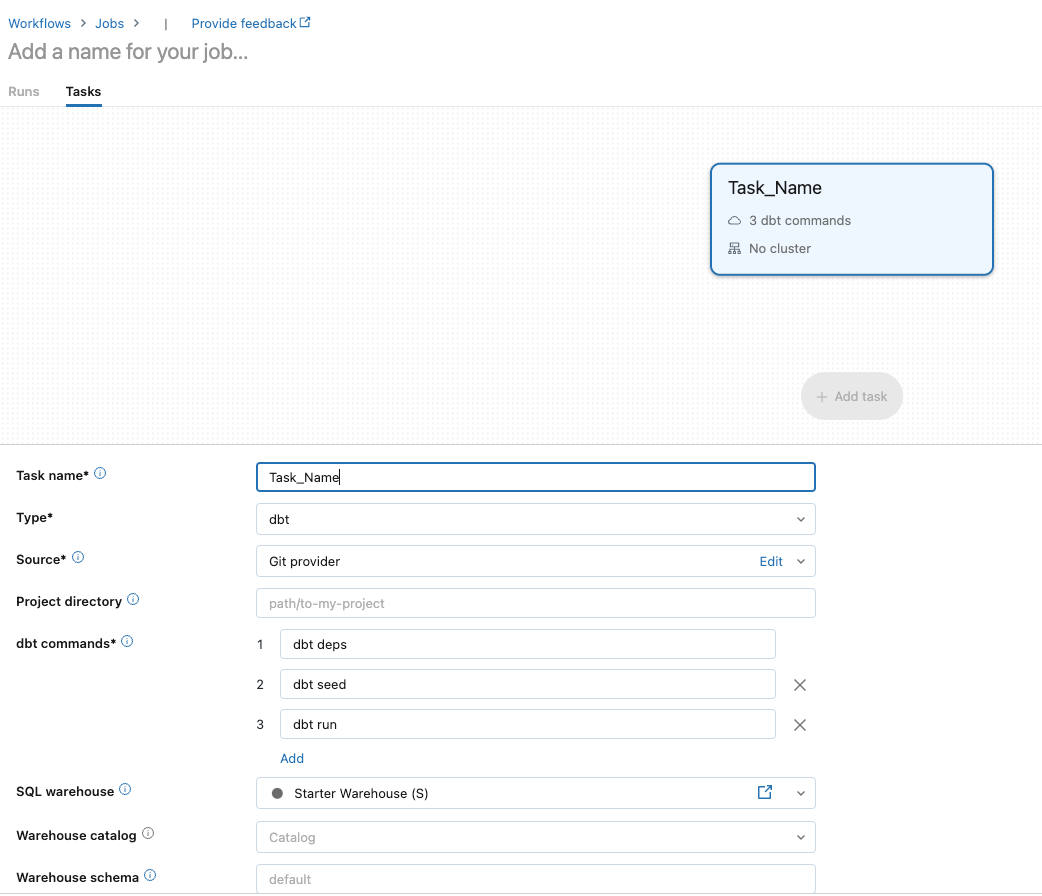
For ‘Source’, choose ‘Edit’ to set up the GitHub connection:
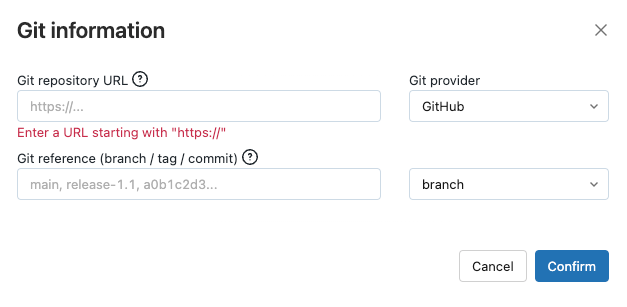
Fill in the appropriate information (i.e. GitHub repo URL, git provider, git branch) and choose ‘Confirm’.
Choose a SQL Warehouse and a cluster to run your job on:

Depending on your workload, you might want to adjust the size of the SQL Warehouse. This is where the majority of the compute will run. The dbt CLI cluster can be relatively small as it installs the dbt_external_tables package.
Next, you will want to set up your dbt commands:

‘dbt deps’ will install all packages.
‘dbt run-operation stage_external_sources’ will run the dbt_external_tables and create them in Databricks
‘dbt seed’ will run the seed files
‘dbt run’ will run the SQL models in your models/ directory
When your job is done running, verify that the correct tables were created in the Databricks hive-metastore.