
It’s 2:07pm on a Tuesday. I’m deep in a codegen loop — Claude is running, files are being written, I’m watching diffs scroll and making small corrections, building momentum. Good session.
My phone buzzes. Calendar notification: Dentist — cleaning. 2:30pm.
I stare at it for a second.
I don’t cancel the run. I don’t kill the terminal. I grab my phone off the desk, drop it in my pocket, and walk out the door.
Twenty minutes later, I’m in the waiting room working through the usual intake form. Halfway through, I unlock the phone — and there’s my dev session. Not a mirror, not a monitoring view: the same terminal I was looking at on the Mac twenty minutes ago. Same panes, same scrollback, diffs still streaming in. I thumb a small correction into the prompt, watch it land, lock the screen. Back to the clipboard. They call my name, I drop the phone in my jacket pocket, and forty minutes later I’m back out on the sidewalk — bib gone, fluoride taste, the works. I pull the phone out, and the session picks up without a beat. Same pane, same cursor position, still running.
tmux — The Session Anchor
tmux runs on your workstation, not on your phone. Your shells, running processes, pane layouts, scroll history — all of it lives in a process on the Mac that persists indefinitely, attached or not. Disconnect, reconnect, switch devices — you’re reattaching to something that never stopped.
Setup
Install tmux:
brew install tmux
Drop this in ~/.tmux.conf:
# Ctrl-a as prefix — easier than Ctrl-b, especially on hardware keyboards
unbind C-b
set -g prefix C-a
bind C-a send-prefix

# Mouse support — tap to focus panes in Blink
set -g mouse on

# Generous scrollback
set -g history-limit 50000

# Start numbering at 1
set -g base-index 1
setw -g pane-base-index 1

# Renumber on close
set -g renumber-windows on

# Pane switching with Alt+arrow (works cleanly in Blink)
bind -n M-Left select-pane -L
bind -n M-Right select-pane -R
bind -n M-Up select-pane -U
bind -n M-Down select-pane -D

# Minimal status bar
set -g status-left '#[fg=green]#S '
set -g status-right '#[fg=yellow]%H:%M '
Ctrl-a as prefix is worth the muscle memory investment – it’s ergonomically better than Ctrl-b and doesn’t conflict with anything. Mouse support means you can tap to focus panes in Blink.
You won’t need to start tmux manually. The mosh section adds a .zshrc hook that auto-attaches on every login.
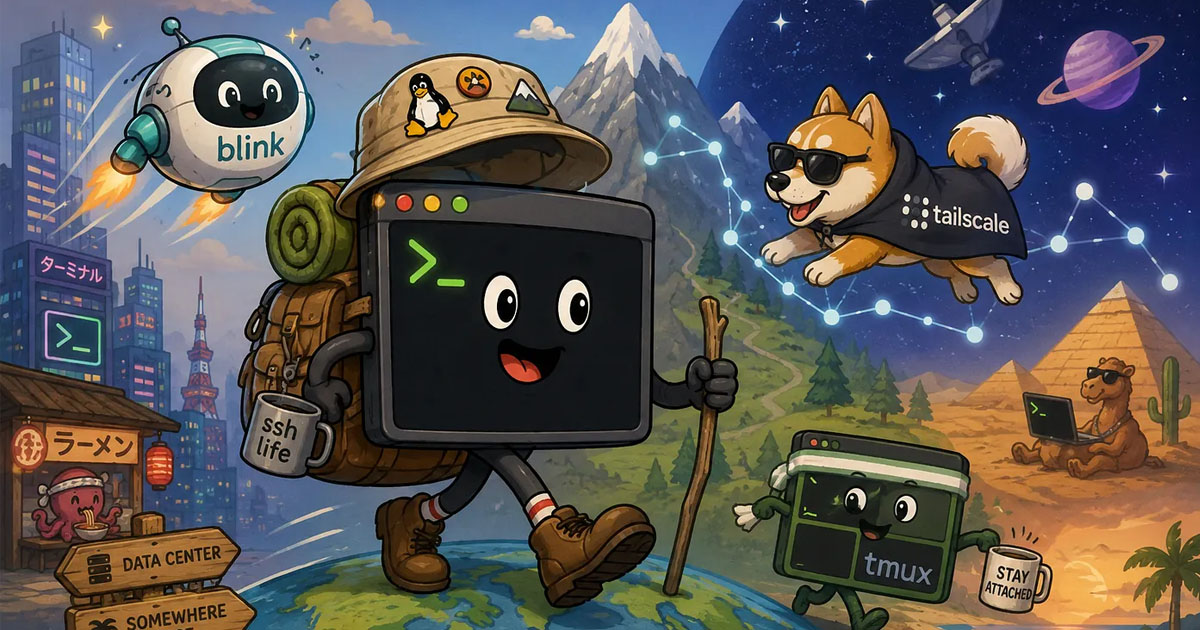
Tailscale — Your Always-On Personal VPN That Doesn’t Suck
Tailscale is a mesh VPN built on WireGuard. Install it on your workstation and your phone, and they join a private network where they can always reach each other by a stable private IP — regardless of NAT, firewalls, or which coffee shop you’re in. No port forwarding. No static IP. Your workstation doesn’t need to be publicly exposed at all.
One thing Tailscale quietly handles: mosh uses UDP, which normally requires configuring firewall rules or router port-forwards. Through the Tailscale WireGuard tunnel, UDP just works. You don’t touch anything.
Setup
1. Create a Tailscale account. Go to tailscale.com and sign up using whichever SSO provider you already have — Google, Microsoft, GitHub, or Apple. No separate password to manage, and the Personal free plan covers up to 100 devices, which is a lot more than you need.
2. Install Tailscale on the Mac.
brew install tailscale
sudo tailscale up
tailscale up prints a URL and opens it in your browser for auth. Sign in with the account from step 1. When the page confirms you’re connected, the Mac has joined your tailnet.
3. Install Tailscale on the iPhone (or Android). Install from the App Store, open it, and sign in with the same account. The phone joins the tailnet, and both devices now show up in the admin console.
4. Clean up your nodes. In the admin console, rename each node to something stable — workstation, iphone – so you’re not staring at auto-generated hostnames forever. While you’re on the workstation’s details page, disable key expiry. By default, Tailscale forces re-auth every 180 days, which would otherwise drop your always-on box off the tailnet at the least convenient moment.
5. Grab the workstation’s Tailscale IP. You’ll need it for Blink:
tailscale ip -4
# → 100.94.12.47
mosh — Transport That Doesn’t Quit
SSH runs over TCP. TCP is connection-oriented. When your network changes — you walk from your desk to your car, you switch from wifi to cellular, your device sleeps — the TCP connection breaks and SSH dies. No recovery. Broken pipe.
mosh uses UDP and is built around the assumption that clients roam. The initial connection rides SSH: it authenticates, starts mosh-server on the workstation, and reads back the UDP port and one-time session key mosh will use. Then it hands off to mosh’s own protocol. After that, SSH is out of the picture. The mosh-server on your workstation holds state, and the mosh-client on your phone can reconnect from any IP, on any network, at any time. Every packet on that UDP path is encrypted and authenticated with AES-128-OCB under the one-time session key from the handshake, so a client reconnecting from a new IP still has to prove it holds the key before any traffic is accepted.
Practical results:
- Switch networks mid-session. mosh detects the IP change and roams seamlessly. Nothing dies.
- Close your laptop, open it hours later. mosh reconnects automatically. Your terminal is exactly where you left it.
- High-latency links feel local. mosh implements predictive local echo — your keystrokes appear immediately, with a subtle indicator when the server hasn’t confirmed yet. On a 200ms mobile connection it’s the difference between usable and maddening.
Setup
Install mosh on the Mac (on iOS it’s built into Blink — nothing to install there):
brew install mosh
mosh bootstraps over SSH, so the Mac has to be accepting SSH connections. Turn on Remote Login: System Settings → General → Sharing → enable Remote Login, and make sure your user is in the allowed list.
Finally, add a tmux auto-attach to ~/.zshrc on the workstation so every incoming connection lands in the persistent session:
# ~/.zshrc
if [ -z "$TMUX" ]; then
  tmux new-session -A -s main
fi
tmux new-session -A -s main is idempotent: it attaches to the session named main if one exists, and creates it if it doesn’t. That’s what makes it safe as a login hook – whether it’s the cold start after a reboot or your thousandth reconnect, you land in the same session.
Blink Shell — The Client That Takes This Seriously
On macOS, mosh in any terminal works fine. The interesting case is iPhone, and the reason this stack is worth doing on your phone is Blink Shell.
Blink is an iOS terminal built for exactly this use case. It’s not a hobby project or a thin SSH wrapper — it has first-class mosh support, configurable modifier keys, and enough depth that you’re not making compromises.
The critical point: when iOS suspends Blink (you switch apps, lock the screen, whatever), the mosh connection pauses. The mosh-server on your workstation keeps running. When you return to Blink, it reconnects and resyncs. Your session never noticed you were gone.
Setup
Install Blink Shell from the App Store. The rest is configuration.
1. Get your public key out of Blink.
In Blink: Settings → Keys → tap your default key → Copy Public Key.
Now you need to get this key onto the Mac. The path of least resistance: send it to yourself as a Slack DM, open Slack on the Mac, and copy it from there.
2. Add the key to authorized_keys on the Mac.
# On the workstation
mkdir -p ~/.ssh
touch ~/.ssh/authorized_keys
chmod 700 ~/.ssh
chmod 600 ~/.ssh/authorized_keys

# Paste the public key you copied from Blink
echo "ssh-ed25519 AAAA...your-blink-key..." >> ~/.ssh/authorized_keys
3. Create the host in Blink.
Settings → Hosts → + → configure:
- Alias: desk (this is the host alias you will type into Blink cli to attach to your machine, keep it short)
- Hostname: 100.94.12.47 (your Tailscale IP)
- username: yourname (your username on the Mac)
Save it. That’s the whole Blink config.
4. Connect.
Make sure tailscale is connected on the phone and on the Mac, then from Blink’s shell:
mosh desk
Blink looks up the desk host, connects to 100.94.12.47 as you over mosh, and the .zshrc auto-attach drops you into tmux. You’re in.
Security: Closing the Door on Every Other Network
Remote Login is on. mosh has an open UDP port range. If you have a laptop, this machine may move between networks.
Tailscale authenticates traffic that arrives through its tunnel — but SSH and mosh bind to 0.0.0.0, every interface. Your Tailscale IP and your coffee shop wifi IP are both listening for ssh and mosh traffic. Not great.
Run this while mosh is active, and you’ll see it:
sudo lsof -iUDP -n | grep mosh
# mosh-ser ... UDP *:60001
That * is all interfaces. The port is reachable on whatever network you’re sitting on.
pf is what closes it. A rule that passes 100.64.0.0/10 and blocks everything else means those ports stop answering on your wifi interface; the block happens at the OS before any application sees the packet. Tailscale ACLs then add a second gate: even traffic that does arrive through the tunnel is restricted to your phone only.
pf: restrict SSH and mosh to Tailscale traffic only
Tailscale assigns addresses from the 100.64.0.0/10 CGNAT range. Every connection that arrives through the Tailscale tunnel will have a source IP in that range. Everything else – local network, hotel wifi, anything – will not.
macOS’s graphical firewall (System Settings → Network → Firewall) doesn’t give us this kind of interface-level control. pf does.
Create the anchor file:
sudo tee /etc/pf.anchors/tailscale-only << 'EOF'
# SSH: Tailscale only
pass in quick proto tcp from 100.64.0.0/10 to any port 22
block in quick proto tcp from any to any port 22

# mosh: Tailscale only
pass in quick proto udp from 100.64.0.0/10 to any port 60000:61000
block in quick proto udp from any to any port 60000:61000
EOF
The order matters here. pf processes rules top to bottom and stops at the first quick match. Tailscale traffic hits the pass rule and is accepted; everything else falls through to the block.
Add the anchor to /etc/pf.conf:
# Append to /etc/pf.conf
sudo sh -c 'echo "
anchor \"tailscale-only\"
load anchor \"tailscale-only\" from \"/etc/pf.anchors/tailscale-only\"" >> /etc/pf.conf'
Load and enable:
sudo pfctl -ef /etc/pf.con
Verify the rules are active:
sudo pfctl -sr
# You should see your pass/block rules for ports 22 and 60000:61000
macOS loads /etc/pf.conf at boot automatically, so the anchor persists across restarts with no extra configuration needed.
From this point on, SSH and mosh ports are silently closed to every network except your Tailscale tunnel. Hotel wifi, airport, coffee shop — they see nothing.
Tailscale ACLs: allowlist your devices
By default, Tailscale allows all traffic between all nodes on your tailnet. For a personal setup with only your own devices, that’s probably fine — but it’s easy to go further.
In the Tailscale admin console → Access Controls, you can tag your devices and define exactly which ones can talk to which ports:
{
  "tagOwners": {
    "tag:workstation": ["autogroup:owner"],
    "tag:phone":       ["autogroup:owner"]
  },
  "acls": [
    {
      "action": "accept",
      "src":    ["tag:phone"],
      "dst":    ["tag:workstation:22", "tag:workstation:60000-61000"]
    }
  ]
}
Then assign tag:workstation to your MacBook Pro and tag:phone to your iPhone in the Machines section of the admin console. With this policy active, your phone can reach your workstation on SSH and mosh – and nothing else on the tailnet can, even if you add other devices later.
Two controls, both of which need to fail before an unauthorized connection is possible. That’s enough.
End-to-End
To make it concrete: you’re on your phone, you run mosh desk. Blink looks up the desk host, mosh uses SSH to authenticate with you@100.94.12.47 through the Tailscale mesh – whatever network you’re on. mosh-server starts on the workstation, opens a UDP socket, mosh-client connects. Your .zshrc fires, tmux attaches to main, and you’re in.
You switch from wifi to cellular while walking out of the house. mosh detects the new IP, re-establishes the UDP path, and resumes. tmux didn’t blink.
You lock the phone and drop it in your pocket for 45 minutes at the dentist. When you pull it out on the sidewalk after, Blink reconnects, mosh re-syncs, and you’re looking at the screen you left. Whatever was running kept running.
Untethered
Four tools, each doing one job, layered so that the failure modes don’t overlap. tmux keeps the session alive. Tailscale makes the machine reachable. mosh keeps the connection alive through network changes. Blink makes it work on a phone without compromises. The pf rules make sure none of it is visible to a network you don’t own.
Once it’s running, you stop thinking about it. Your session is just always there — at your desk, on the couch, in the waiting room, in the coffee line while you push a fix before you reach the register.