
How and Why to Use Custom SageMaker Images
If you have used SageMaker for data science modeling work, you have likely used the AWS-provided images to train your models and possibly deploy them to an endpoint. These provide images for scikit-learn, xgboost and deep-learning among other common frameworks. This article will address an issue we had with the provided images and how we solved it using custom images.
These provided images are great for getting up and running, but since AWS needs to accommodate so many different users, they end up bloated with additional libraries you probably don’t need. Worse yet is when AWS stops updating the image: we experienced this firsthand. We relied heavily on the scikit-learn image for a variety of classical modelling use-cases, and we found ourselves constantly wrestling with this: trying to install specific versions of packages in order to meet our regulatory and governance requirements.
An example of our frustration is that the AWS-provided scikit-learn image is stuck on python 3.9, is using pandas and numpy versions in the 1.x.x’s, and it has a core reliance on the sagemaker-containers library which was archived over 5 years ago, so good luck upgrading anything.
If you push the AWS-provided scikit-learn image to a private ECR repo, you will see 40+ CVEs ranging from low to high that you cannot do much about. If your endpoints are in private subnets then maybe this doesn’t matter, but it’s not great either way.
Eventually we got fed up and decided to create a custom image which we later expanded into many custom images for each model family. This allowed us to very strictly control versions for all of our endpoints and map specific versions of models to specific images — gotta keep those auditors happy.
Building SageMaker Compatible Containers
There are two python libraries that AWS provides that make this process fairly straightforward and let you bypass the work of creating a SageMaker compatible model-training and model-serving container.
When we say “SageMaker compatible”, we really mean two things:
- You can use the SageMaker Python SDK in SageMaker Studio and use your custom image as is.
- You can also use this image as the basis for a model deployed in a SageMaker endpoint.
The two libraries you will need are the sagemaker-training-toolkit and the sagemaker-inference-toolkit. Installing these into your image allows you to train a model, produce the artifact in s3, and then optionally serve the model in an endpoint using the multi-model-server java library under the hood — all taken care of for you.
By creating a custom image with these libraries installed, you can take full advantage of SageMaker’s training and model-serving capabilities. This approach helps you avoid a lot of tedious and error-prone work.
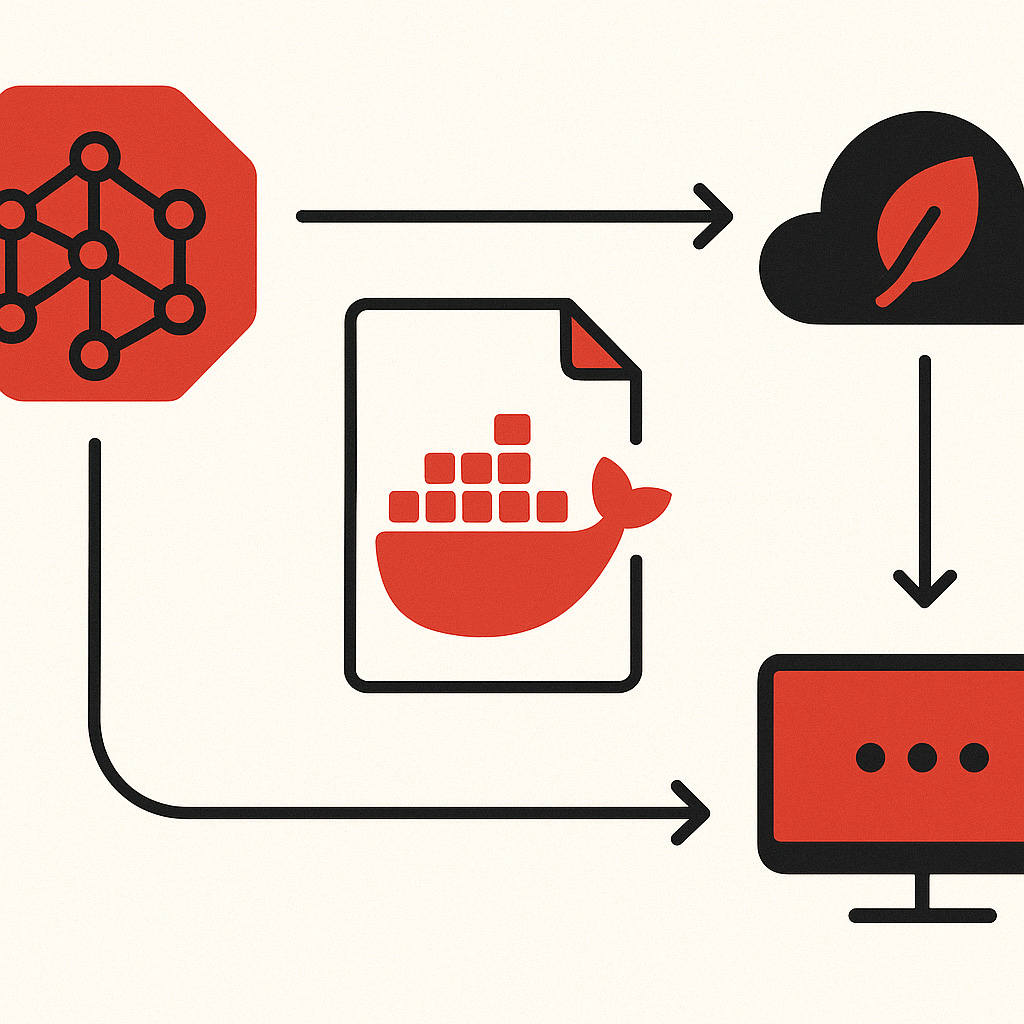
The Dockerfile we used to create the container image is pretty simple, and we have a repo that has all of the supporting files you will need: https://github.com/sjcahill/sagemaker-custom-image
FROM mambaorg/micromamba:ubuntu24.10
ENV DEBIAN_FRONTEND=noninteractive
ENV LANG=C.UTF-8
ENV LC_ALL=C.UTF-8
ENV PYTHONWRITEBYTECODE=1
ENV PYTHONUNBUFFERED=1
ENV PYTHONIOENCODING='utf-8'
USER root
# Install dependencies
RUN apt-get update && \
    apt-get -y upgrade && \
    apt-get install -y --no-install-recommends \
    build-essential \
    curl \
    git \
    jq \
    libatlas-base-dev \
    nginx \
    openjdk-8-jdk-headless \
    unzip \
    wget \
    expat \
    tzdata \
    apparmor
# Install AWS CLI v2
RUN curl "https://awscli.amazonaws.com/awscli-exe-linux-x86_64.zip" -o "awscliv2.zip" && \
    unzip awscliv2.zip && \
    ./aws/install && \
    rm -rf awscliv2.zip
COPY environment.yml /tmp/environment.yml
COPY .condarc /opt/conda
ENV PATH=/opt/conda/bin:$PATH
RUN micromamba install -n base -f /tmp/environment.yml && \
    micromamba clean -a -y --force-pkgs-dirs && \
    rm -rf /tmp/environment.yml && \
    ln -s $(which python) /usr/bin/python
# Create MMS User Directory
COPY resources/mms/config.properties.tmp /home/model-server
ENV SKLEARN_MMS_CONFIG=/home/model-server/config.properties
# Copy execution parameters endpoint plugin for MMS
RUN mkdir -p /tmp/plugins
COPY resources/mms/endpoints-1.0.jar /tmp/plugins
RUN chmod +x /tmp/plugins/endpoints-1.0.jar
# Create a directory for the models
RUN mkdir -p /opt/ml/models && chmod +rwx /opt/ml/models && mkdir -p /opt/ml/input && chmod +rwx /opt/ml/input
# Create the serve command
COPY serve /usr/local/bin/serve
RUN chmod +x /usr/local/bin/serve
# Copy taining and serving code
RUN mkdir /opt/custom
COPY my_container /opt/custom/my_container
ENV PYTHONPATH="${PYTHONPATH}:/opt/custom"
# Setting some env vars
# Set SageMaker training environment variables
ENV SM_INPUT=/opt/ml/input
ENV SM_INPUT_TRAINING_CONFIG_FILE=/opt/ml/input/config/hyperparameters.json
ENV SM_INPUT_DATA_CONFIG_FILE=/opt/ml/input/config/inputdataconfig.json
ENV SM_CHECKPOINT_CONFIG_FILE=/opt/ml/input/config/checkpointconfig.json
LABEL com.amazonaws.sagemaker.capabilities.accept-bind-to-port=true
ENV SAGEMAKER_TRAINING_MODULE=my_container.training:main
ENV SAGEMAKER_SERVING_MODULE=my_container.serve:main
# Set SageMaker serving environment variable
ENV SM_MODEL_DIR=/opt/ml/model
EXPOSE 8080
ENV TEMP=/home/model-server/tmp
# Required label for multi-model loading
LABEL com.amazonaws.sagemaker.capabilities.multi-models=true
In the Dockerfile, you can see we are copying a lot of files into our image. The runtime will rely on these to properly function when training and serving the model results.
For example, here is the training.py file that will allow your container to be SageMaker Python SDK-compatible in a training job:
from __future__ import absolute_import
import logging
from sagemaker_training import entry_point, environment, runner
logger = logging.getLogger(__name__)
def train(training_environment):
    """
    Runs scikit-learn trainin on a user supplied module in the local SageMaker
    environment. The user supplied module and its dependencies are downloaded
    from S3. Training is invoked by calling a "train" function in the user
    supplied module.
    Args:
      training_environment: The environment object containing the
      training configuration.
    """
    logger.info("Invoking user training script")
    entry_point.run(
        uri=training_environment.module_dir,
        user_entry_point=training_environment.user_entry_point,
        args=training_environment.to_cmd_args(),
        env_vars=training_environment.to_env_vars(),
        runner_type=runner.ProcessRunnerType,
    )
def main():
    train(environment.Environment())
Likewise here is the serving.py file that ultimately allows you to deploy a model to a SageMaker endpoint using this custom image:
from __future__ import absolute_import
from subprocess import CalledProcessError
from retrying import retry
from sagemaker_inference import model_server
from my_container import handler_service
HANDLER_SERVICE = handler_service.__name__
def _retry_if_error(exception):
    return isinstance(exception, CalledProcessError or OSError)
@retry(stop_max_delay=1000 * 30, retrty_on_exception=_retry_if_error)
def _start_model_server():
    model_server.start_model_server(handler_service=HANDLER_SERVICE)
def main():
    _start_model_server()
It would be a bit overboard to paste all of the code needed (not that it is that much) into this article, but these are the major pieces that should help you understand the core functionality.
The end result is an image that you can build, push to ECR, and start using in SageMaker. The image is very lightweight compared to what AWS provides and can be extended to fit your use-case.
We focused on scikit-learn, but this could be easily extended to a bunch of libraries that don’t require GPU support. If you are using models that required a GPU then you will likely want to reference https://github.com/aws/deep-learning-containers and adapt that to your personal needs.
Being able to quickly create reliable custom images for different teams and control their dependencies has solved a bunch of pain points for us, hopefully you find it useful as well. If you want to share your experiences or need some help navigating machine learning please comment below or reach out to us at NewMathData.com.